Contents
Are you ready to take your cosplay game to the next level? Whether you’re transforming into your favorite anime character or bringing a beloved video game hero to life, there’s one key element that will make or break your look, in addition to the best cosplay costume: the wig. Designing a wig for cosplay requires patience, precision, and a keen eye. In this guide, we’ll walk you through the intricate process of creating the perfect wig for your cosplay character.
Preparing the Base
Before diving into the creative process, it’s essential to prepare the base wig for styling. Follow these steps to ensure a solid foundation for your masterpiece:
Positioning on Head Mask
Place the wig on a head mask, aligning it from front to back. Ensure that the adjustment buckles are located on both sides and tug them gently to secure the wig in place.
Adjustment Buckles
Start by removing any adjustment buckles from the wig. These may be tucked inside the wig and need to be carefully extracted to prevent damage.
Fixing the Wig
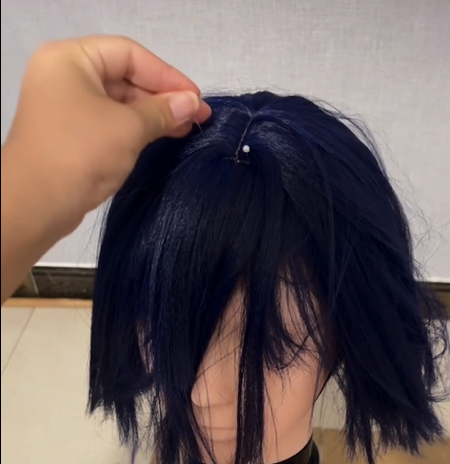
Lift the hair on both sides of the wig and check if the ears of the hair net align with the ears of the head model. Secure the wig in place using pins, avoiding direct piercing of the scalp to prevent damage.
Styling Techniques
With the base wig secured, it’s time to unleash your creativity and bring your character to life through styling. Here are some key techniques to master:
Sectioning and Layering
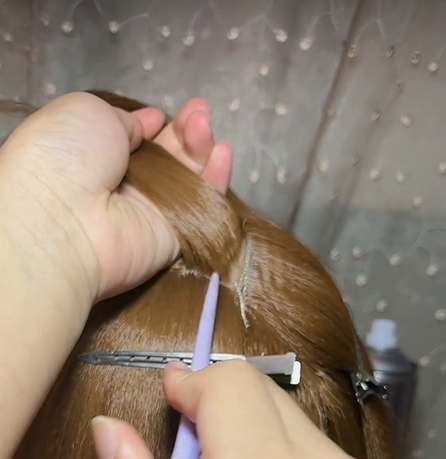
Divide the hair into sections, focusing on the sides of the bangs and the back of the head. When layering, ensure an even distribution by dividing the hair into two or three rows to avoid uneven perming.
Perming
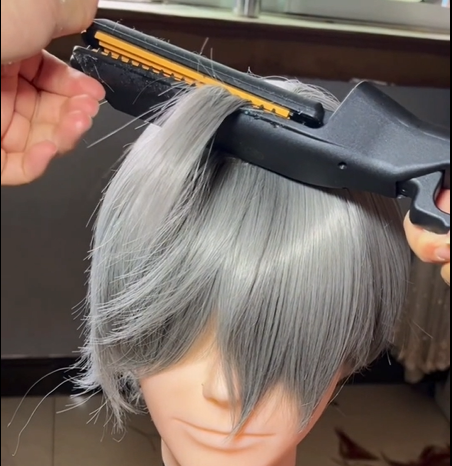
Adjust the temperature of your hair clip according to the wig’s material. Start with a lower temperature to avoid damage and gradually increase as needed. Use a two-handed approach for even perming and be cautious around the scalp to prevent holes or damage.
Trimming and Thinning
Use flat shears or tooth shears to trim and thin the hair for a natural look. Avoid cutting directly flat to prevent a choppy appearance and aim for a 45-degree angle for a smoother finish.
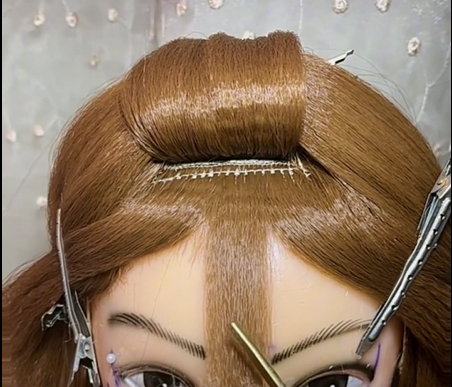
Hair Patching
If your character requires additional hair patches, carefully apply hot melt glue or glaze glue to secure them in place. Pay attention to the shape and texture of the patches to ensure seamless integration with the base wig.
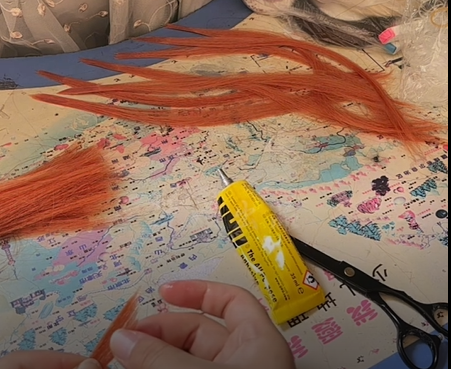
Hairline Adjustment
Modify the hairline to suit your character’s style, whether it’s a center parting or a distinctive hair swirl. Use hot melt glue or glaze glue to fix any alterations and ensure a smooth transition.
Finishing Touches
Once the styling is complete, it’s time to add the finishing touches to perfect your cosplay wig:
Hairspray Application
Apply hairspray evenly to set the style and add volume. Maintain a distance of at least 20 cm to prevent a greasy appearance and use advertising paper to protect styled areas from overspray.
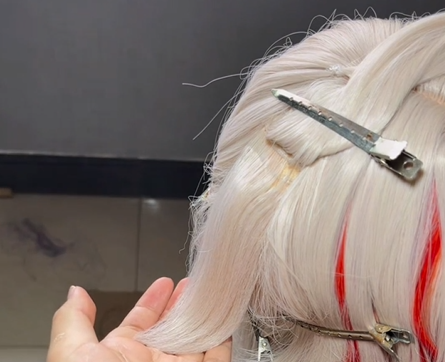
Anti-prying and Elastic Anti-curl
Use specific techniques to achieve the desired volume and shape for your character’s hairstyle. Experiment with different heating tools and styling methods to achieve the perfect look.
Hair Ball Pad
For intricate hairstyles requiring a hair ball pad, shape the hair into a ball and use hot melt glue to fix it in place. Trim and style the hair piece to match your character’s design.
Designing a wig for cosplay is a labor of love that requires dedication, skill, and attention to detail. By mastering the techniques outlined in this guide, you can bring your favorite characters to life with confidence and creativity. So don your wig, step into character, and let your imagination soar on your next cosplay adventure!
Related Reading: How to Make Armor for Cosplay
